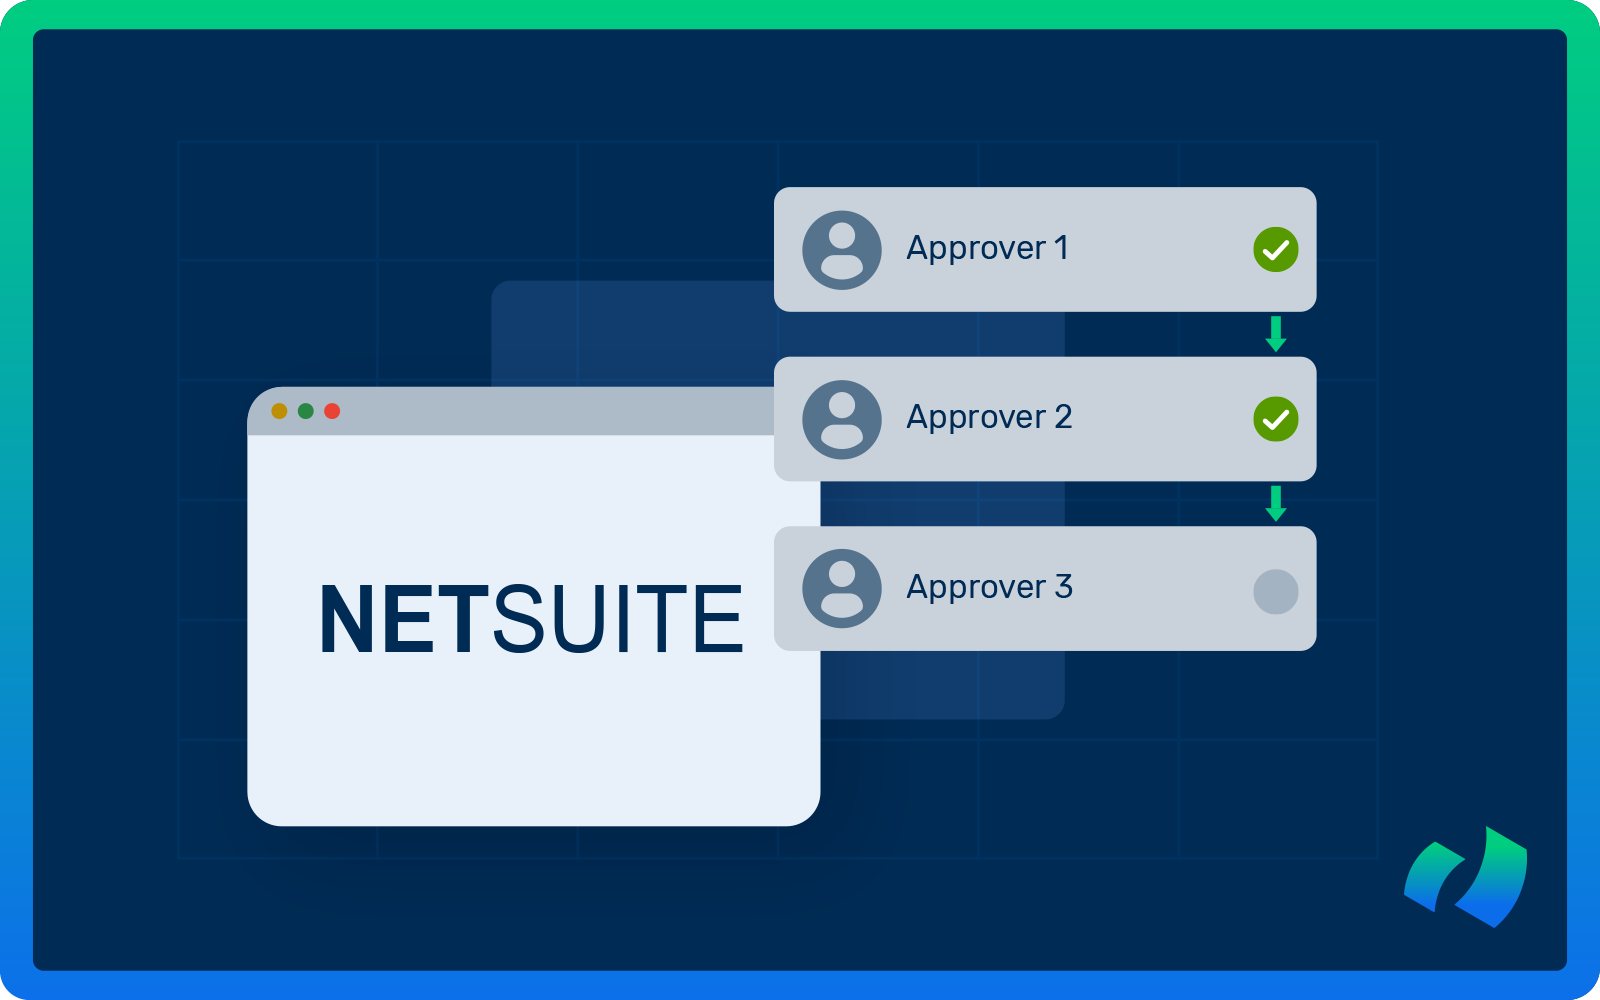
NetSuite, a leading cloud-based ERP platform, offers a range of solutions for automating core business processes. One of its most valuable features is SuiteFlow, which allows users to create custom approval workflows that streamline operations, reduce manual effort, and consistently enforce business rules.
Approval workflows play a vital role in ensuring proper authorization before critical actions are taken. With NetSuite’s robust customization capabilities, users can design tailored approval workflows to suit specific business requirements.
This guide provides a step-by-step walkthrough for creating a custom approval workflow in NetSuite.
What Is SuiteFlow?
SuiteFlow is NetSuite’s built-in, graphical workflow management tool that empowers users to automate business processes such as approvals, record updates, notifications, and task assignments—all without writing any code.
As part of NetSuite’s broader customization and automation capabilities, SuiteFlow offers a user-friendly, drag-and-drop interface designed for both technical and non-technical users.
Users can define the exact flow of business processes by setting up logical states, transitions, conditions, and actions.
Whether managing approvals, routing tasks, or creating escalation paths, SuiteFlow enables the visual modeling and execution of these processes directly within NetSuite. It eliminates the need for spreadsheets, emails, or manual steps by embedding logic into the system where the data already resides.
SuiteFlow is intuitive enough for business analysts, yet provides the depth and extensibility developers need through tools such as SuiteScript integration. Finance teams can start with simple invoice-approval workflows and scale them as business needs evolve.
Key Features of NetSuite’s SuiteFlow
According to NetSuite’s official SuiteFlow overview, the tool offers several core features that make it both powerful and user-friendly:
- Visual Process Definition
SuiteFlow’s drag-and-drop interface allows users to lay out workflows visually, making it easy to map how a process transitions from one state to another. This approach improves understanding and enables clear, intuitive design without requiring scripts or backend configuration.
- Flexible Triggers
Workflows can be initiated by various events, such as record creation, field updates, or scheduled intervals. With this flexibility, workflows can be tailored to fit specific business processes—for example, triggering only when a sales order total exceeds $10,000.
- Notifications and Alerts
Built-in support for real-time email notifications, task assignments, and message displays ensures that the right people stay informed at the right moments. Alerts can be configured based on workflow transitions, time-based criteria, or changes to specific records.
- Fine-Grained Extensibility
Although SuiteFlow is designed for use without coding, it also supports SuiteScript for more advanced logic, API calls, and third-party integrations. This extensibility makes it possible to handle complex or dynamic scenarios beyond the tool’s default configuration.
- Portability Across Accounts
Workflows can be packaged and deployed across multiple NetSuite environments, such as moving from a sandbox to a production account. This capability supports sound development practices and helps maintain consistency across business units, subsidiaries, or regions.
Taken together, these features make SuiteFlow a practical solution for companies aiming to streamline and automate business processes within NetSuite. From simple approval flow to a complex process involving conditional logic and notifications, SuiteFlow provides a flexible framework to support a wide range of workflow scenarios.
How to Create a Custom Approval Workflow in NetSuite: Step-by-Step Guide
- Access the Workflow Manager
- Configure Basic Settings
- Set Workflow Initiation Criteria
- Create Workflow States
- Define Actions Within States
- Establish Transitions
- Test Your Workflow
- Deploy the Workflow
Step 1: Access the Workflow Manager
- Go to Customization > Workflow > Workflows > New.
- Select the record type that you want the workflow to apply to. This could be “Transaction” (for things like Sales Orders or Expense Reports) or any other standard or custom record.
Step 2: Configure Basic Settings
- Name your workflow clearly, e.g., “Sales Order Approval Workflow” or “Employee Expense Review.”
- ID will auto-generate, but you can customize it.
- Choose the appropriate record type and subtype.
- Enable Logging to assist with debugging.
- Set Trigger On to “Event Based” to respond to changes in the record.
Step 3: Set Workflow Initiation Criteria
- Define when the workflow should be initiated: on creation, update, or based on specific conditions (e.g., amount threshold, department, status).
- Optionally, add entry conditions—these act as filters that determine which records will enter the workflow.
Step 4: Create Workflow States
- Add at least two core states, such as “Pending Approval” and “Approved.”
- Optionally include additional states like “Rejected” or “Needs Revision,” depending on the complexity of your process.
Step 5: Define Actions Within States
- For “Pending Approval,” set actions like sending notification emails, waiting for user action, or flagging the record for review.
- In the “Approved” state, you might automatically update a status field, assign the next task, or send a confirmation email.
- You can also use time-based actions, such as escalations or reminders, in any state.
Step 6: Establish Transitions
- Set up transitions between states based on user actions or criteria. For example:
-
- If the approver approves, move from “Pending Approval” to “Approved.”
- If the request is denied, transition to “Rejected.”
Step 7: Test Your Workflow
- Use a sandbox environment to run test records through the workflow.
- Verify that conditions, notifications, transitions, and record updates behave as expected.
- Check logs for errors or unexpected behavior.
Step 8: Deploy the Workflow
- After testing, set the workflow status to “Released.”
- Save and monitor usage in production.
This generalized approach to building approval workflows applies across a wide range of business processes in NetSuite.
Whether you’re dealing with purchase approvals, leave requests, or customer onboarding, the SuiteFlow structure—initiation, states, actions, transitions, testing, and deployment—remains consistent.
What primarily changes are the record type and the specific conditions or actions tailored to your process.
Use Cases for SuiteFlow
SuiteFlow is highly versatile and can be applied across nearly all departments and industries.
The most common use cases include:
- Purchase order approvals: Route high-value POs through multiple levels of approval based on amount, department, or location.
- Sales discount approvals: Establish thresholds that require sales manager approval when discounts exceed a defined limit.
- Expense report validations: Ensure that employee expenses are reviewed and approved before reimbursement.
- Customer onboarding workflows: Automate key steps such as credit checks, welcome emails, and the assignment of account managers.
- Employee onboarding and offboarding: Coordinate tasks across departments to streamline the setup or deactivation of employee access and benefits.
- Lead nurturing and follow-up: Trigger timed email reminders or status updates based on prospect engagement.
SuiteFlow streamlines your workflows by automating repetitive tasks, enforcing business rules, and reducing errors and delays. With its intuitive interface, you can customize processes to fit your unique needs.
How DOKKA Makes Custom Approval Workflows Even Easier
While NetSuite’s SuiteFlow is a powerful tool for building custom workflows, it can be time-consuming and requires a good understanding of its architecture and logic flows. This is where DOKKA offers a smarter, faster, and more intuitive alternative.
With DOKKA, creating approval workflows doesn’t require any coding or complex configuration.
Here’s how DOKKA makes it easier:
1) No-Code Workflow Builder
DOKKA’s visual workflow editor allows finance teams to set up custom approval chains with just a few clicks. Simple interfaces let you define roles, steps, and conditions without needing to dive into SuiteFlow’s technical layers.
2) Dynamic Rules and Conditions
Set up conditional logic based on invoice value, vendor, department, or any custom field — all without scripting. DOKKA automatically routes documents to the right approvers based on your defined rules.
3) Real-Time Collaboration and Notifications
Approvers get notified instantly through DOKKA’s platform or integrated communication tools like email or Slack. They can approve, reject, or comment on documents directly, keeping the process moving smoothly.
4) Audit Trail and Compliance Built-In
Every action in the workflow is logged automatically for compliance and audit readiness, with no extra setup needed.
5) Seamless Integration with NetSuite
Once an invoice or document is approved in DOKKA, it’s pushed directly into NetSuite with all approval data, eliminating the need to manage workflows inside SuiteFlow entirely.
Building approval workflows in NetSuite is possible, but with DOKKA, it’s dramatically easier, faster, and more adaptable to real-world finance team needs. Whether you’re scaling your operations or trying to reduce manual overhead, DOKKA’s automated workflows help you get there — without the tech headache.
Disclaimer: This article is based on publicly available information and the professional experience of the DOKKA team. DOKKA is not affiliated with Oracle or NetSuite.


